

I’m always looking for simpler and more eco-friendly ways to pack my kids’ lunches. I have every kind of reusable container known to man but sometimes they’re still not the right shape or size for half a turkey sandwich or a PB&J on leftover waffles.
My favorite for sandwiches are the fabric wraps I made last year, but they need to be washed often. Recently, I found some wonderful fabric squares coated in beeswax at Trader Joe’s and have really enjoyed using them. But they were only available for a hot second, and others I’ve seen are kind of pricey. And I wanted a whole bunch of them!

The ones I bought are a bit heavy on the wax so they’re hard to shape around something soft. But they’re great for covering up bowls filled with rising bread dough, little ramekins of leftover honey butter or even wrapping half an onion … anything you want covered but don’t necessarily need to be airtight.
I watched a half dozen how-to videos online but it seemed like everyone was making it more complicated than it needed to be. And I was right! The method I’m sharing with you guys is so ridiculously simple and doesn’t require special tools or risk you ruining your ironing board cover.
Supplies Needed:
- Fabric (lightweight cotton is a good choice)
- Pinking shears (zig zag fabric scissors)
- Beeswax pellets (I found a 1-pound bag for about $10 on Amazon.
- Cookie sheet
What to do:
Preheat oven to 225 degrees F.
Next, figure out the sizes and shapes you want. I really needed a couple rectangles for sandwiches and circles for my bread bowls. For the circles, I just turned my bowl upside down on my fabric and cut around it with the pinking shears, allowing about two inches extra for folding over the edge.
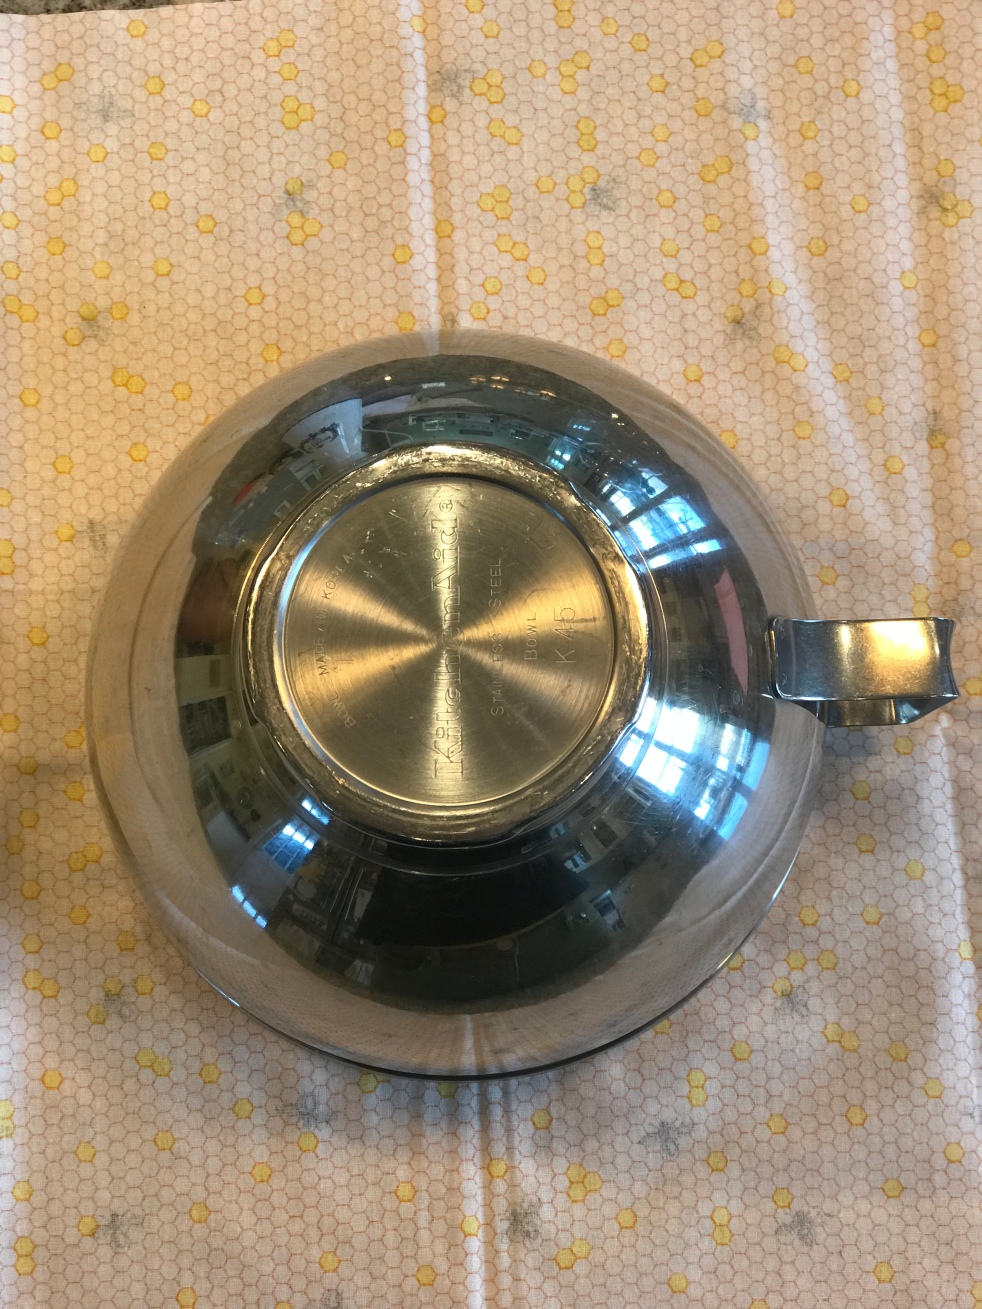
Its not a perfect circle but that’s okay.

Next, place the fabric on a cookie sheet and sprinkle the beeswax pellets evenly.

Then put it in the oven for about 5 minutes, until the pellets have melted and soaked your fabric. If it’s not soaked evenly, drag the fabric around in the melted wax. If you have dry spots and need more wax, just sprinkle a bit more where needed and put it back in the oven for a couple minutes.

Then, pick the soaked fabric up by the edge and hang it in the air by your finger tips for about 30 seconds. It’ll be warm but not too hot to touch. Give it another couple minutes to fully dry and it’s ready to go!


To clean them just wash gently in warm water with a little dish soap, if needed. They’ll last for dozens of uses and can even be “refreshed” by heating them back up in the oven for a couple minutes. Like new again!
